

Smart Storage Solutions: Maximize the Lifespan of Your Christmas Inflatables
The holiday season brings joy, festive lights, and often, beloved Christmas inflatables that add a whimsical touch to our homes. But once the festivities end, the question arises: how do you properly store these cherished decorations to ensure they look just as vibrant next year? Incorrect storage can lead to mildew, tears, and a diminished lifespan. This guide will walk you through smart storage solutions, from cleaning to strategic packing, to keep your inflatables pristine and ready for many seasons to come.
Why Proper Inflatable Storage is Crucial
Your Christmas inflatables are an investment in holiday cheer. Without proper care, they can suffer from a variety of issues: fabric degradation due to moisture or pests, mildew growth, motor damage from improper packing, or punctures from sharp edges. By dedicating a little time to smart storage, you'll not only preserve their appearance but also save money on replacements and ensure a hassle-free setup next year.
Step 1: Thorough Cleaning Before Storage
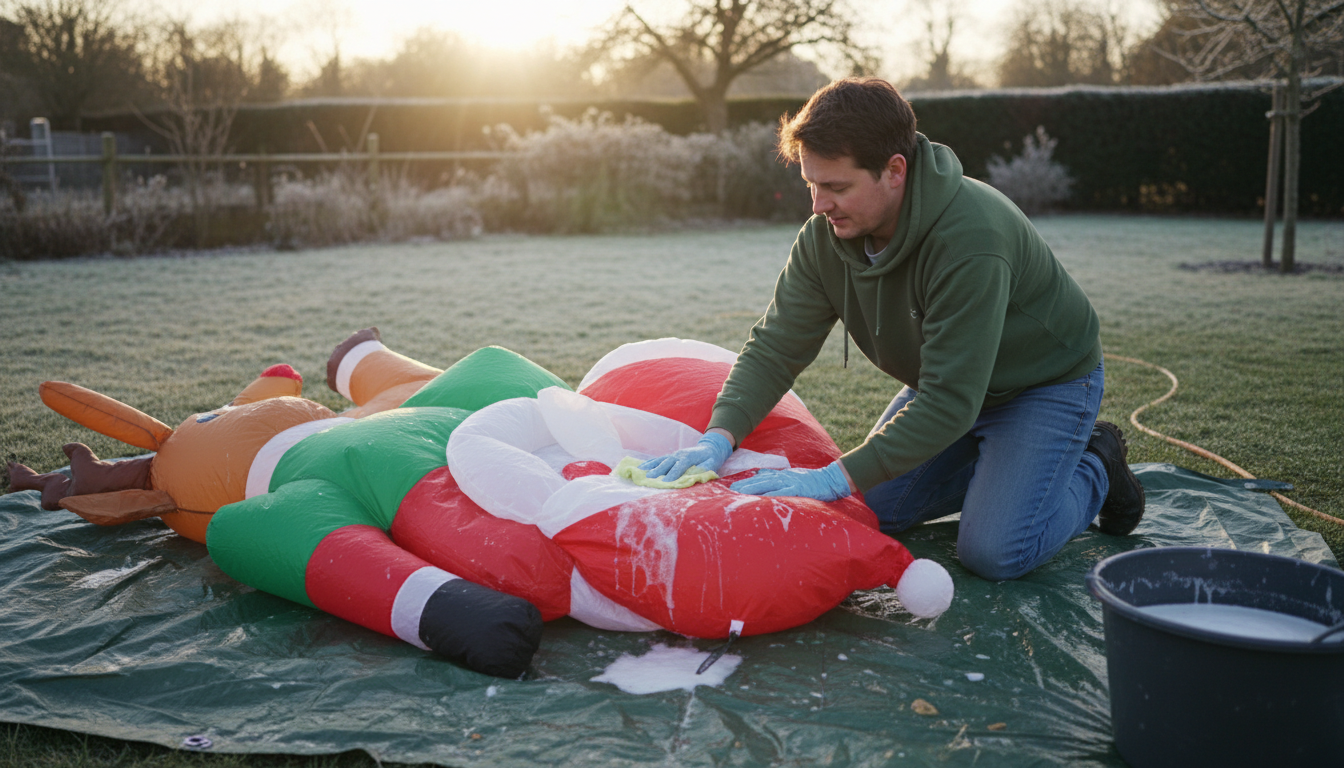
Before anything else, your inflatables need a good cleaning. Dust, dirt, leaves, and even mildew can accumulate during their outdoor display. Use a soft cloth, a mild soap (like dish soap), and water to gently wipe down the entire surface. For stubborn spots, a soft brush can be helpful. Ensure you avoid harsh chemicals or abrasive scrubbers that could damage the fabric or artwork.
After cleaning, it's paramount to allow the inflatable to dry completely. Inflate it one last time on a sunny, dry day, or use a fan indoors to ensure every crease and corner is moisture-free. Storing a damp inflatable is an open invitation for mold and mildew, which can permanently stain and degrade the material.
Step 2: Careful Deflation and Folding Techniques
Once clean and dry, it’s time to deflate. Disconnect the fan and open any available zippers or vents to release air. You can gently press on the inflatable to help expel air, but avoid excessive force that could strain seams. Once mostly deflated, allow it to sit for a while to let any remaining air escape naturally.
Folding is key to minimizing creases and preventing damage. Lay the inflatable flat on a clean surface. Gently fold it into a manageable rectangle or square, trying to keep the folds loose rather than sharp. This reduces stress on the material. Ensure the fan motor and any attached lights are positioned carefully to avoid being crushed or causing punctures to the fabric.
Step 3: Choosing the Right Storage Containers
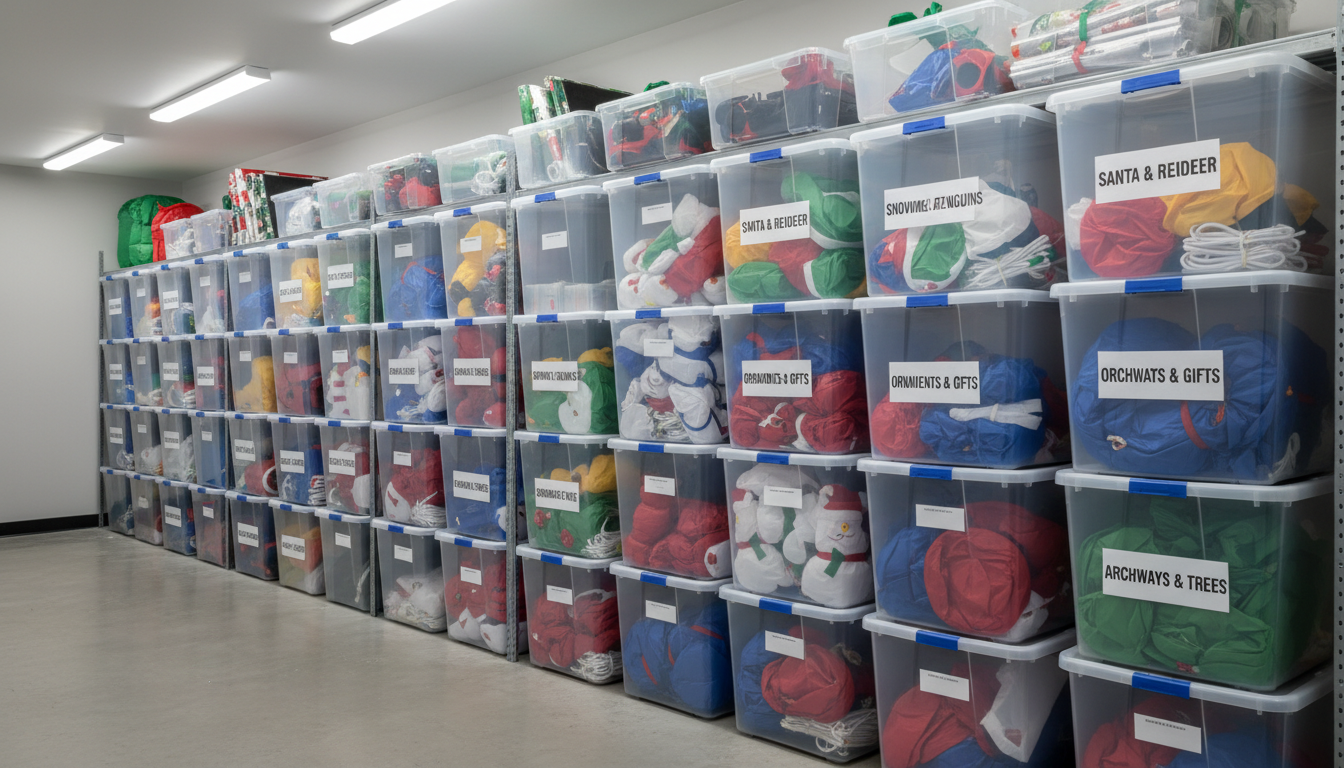
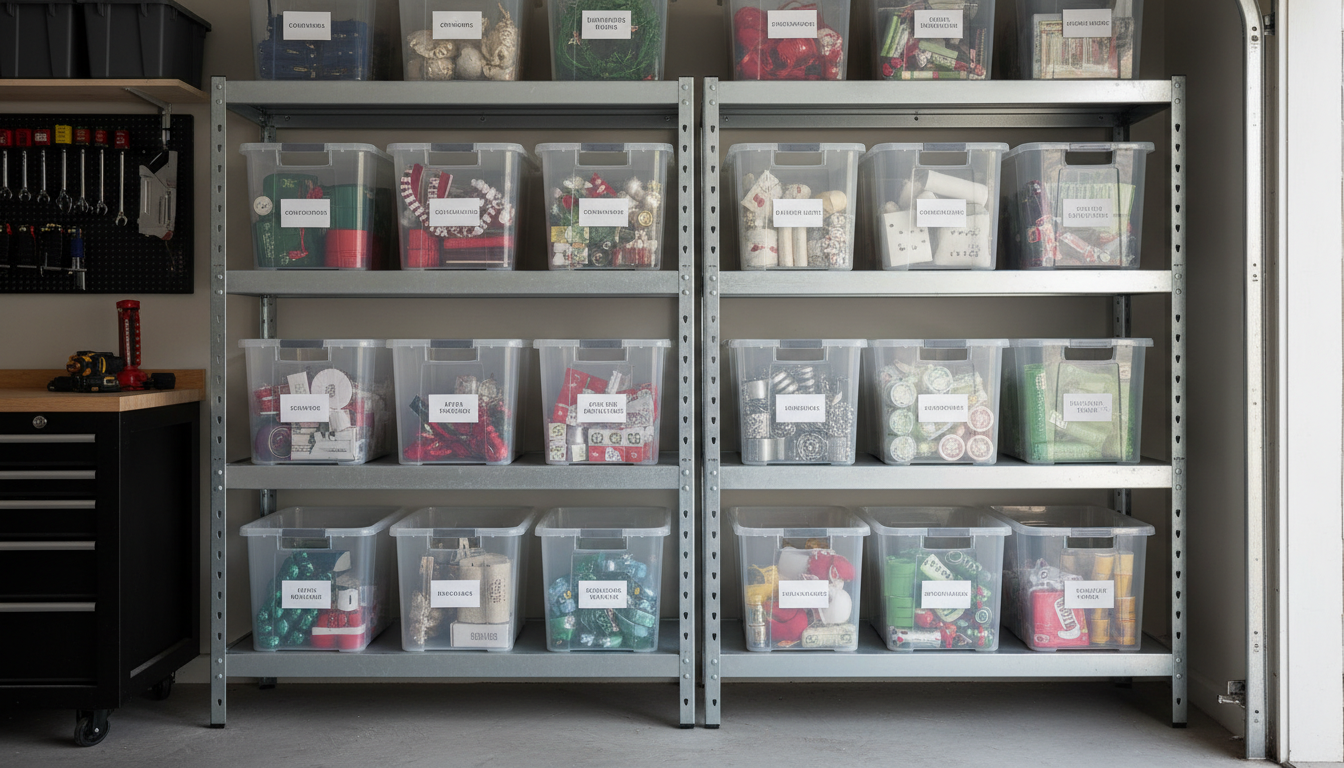
The type of container you use can make a significant difference. Clear, heavy-duty plastic bins with airtight lids are ideal. They protect against moisture, pests, and dust, while allowing you to easily see the contents without rummaging. Avoid cardboard boxes, as they offer little protection against humidity and are a favorite nesting spot for rodents and insects.
Consider using separate, smaller bags for each inflatable's accessories, such as stakes, tethers, and the fan motor. Label these bags clearly and place them inside the main storage bin with the corresponding inflatable.
Step 4: Identifying Ideal Storage Locations
The best storage locations are cool, dry, and dark. Basements, attics, or garages can work, provided they are not prone to extreme temperature fluctuations or high humidity. Avoid placing inflatables directly on concrete floors, which can wick moisture. Use shelves or pallets instead.
If you're short on dedicated storage space, consider how you can optimize your existing areas. Perhaps a corner of the garage could be transformed with shelving, or an unused closet could house your seasonal decor. AI Floor Plan Generator to map out your home and discover untapped storage potential, or Magic Editor within your existing space.
Step 5: Labeling and Inventory for Easy Retrieval
Once everything is packed away, clearly label each storage bin with its contents. Don't just write 'Christmas Decorations' – specify 'Santa Inflatable', 'Snowman Scene', etc. This saves you immense time and frustration next year when you're eager to set up. Creating a simple inventory list of your inflatables and where they are stored can be incredibly helpful, especially if you have many.
Advanced Tips for Maximizing Inflatable Lifespan
Beyond the basics, a few extra steps can further protect your inflatables. Keep a small repair kit (often included with inflatables) handy for quick patches. Consider placing cedar blocks or dryer sheets in bins to deter pests. If possible, periodically check your stored items during the off-season for any signs of trouble. This proactive approach ensures your inflatables remain a source of joy for years to come.
Pristine Inflatables, Festive Future
By following these smart storage solutions—from thorough cleaning and careful deflation to choosing the right containers and locations—you can significantly extend the life and vibrant appearance of your Christmas inflatables. Investing a little time post-holiday will pay dividends in future seasons, guaranteeing your festive decor is always ready for its grand debut. Embrace these practices, and look forward to a seamless and joyful setup for every holiday to come!